Baking Thin Cut Chicken Breast: Tips for Perfect Juiciness Every Time
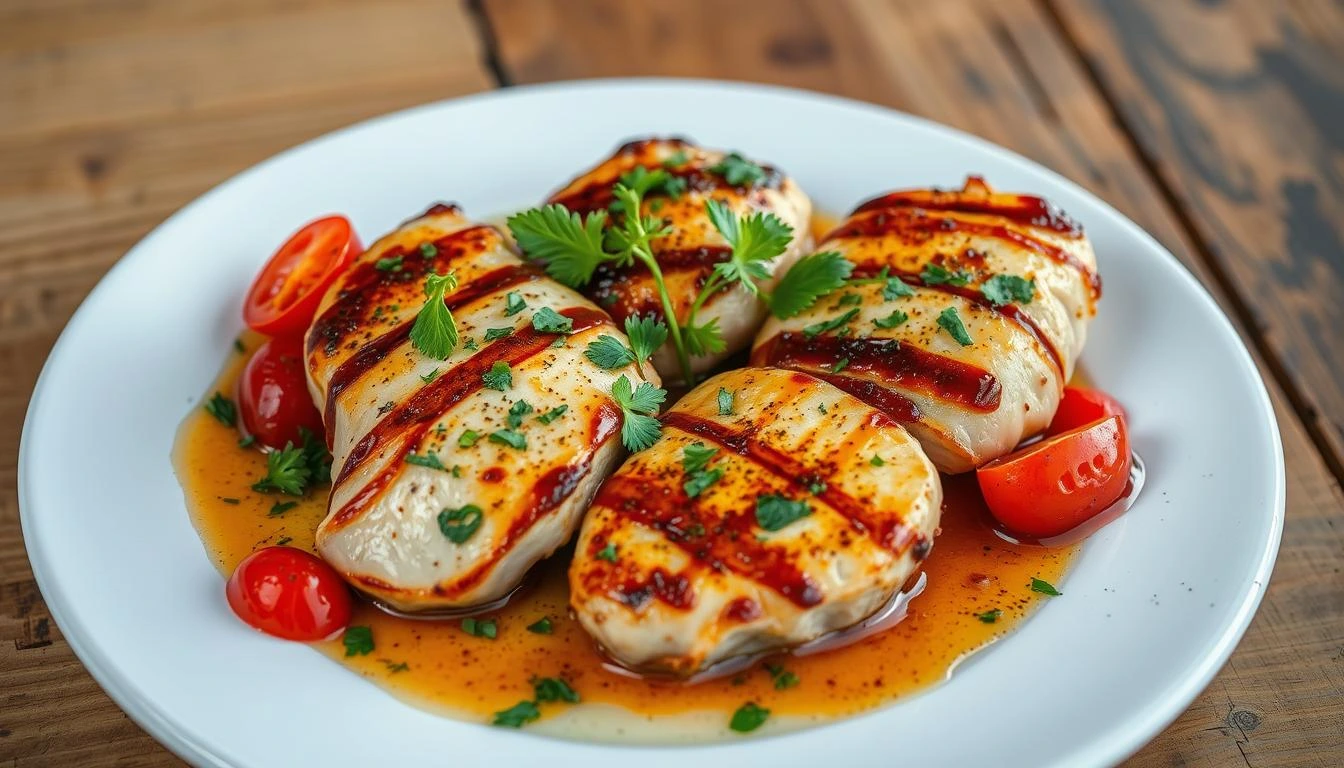
As a busy parent, finding healthy, tasty meals quickly is a challenge. That’s why I’m excited to share a simple way to bake thin cut chicken breasts. They become juicy in just 15 minutes or less. Learn how to make delicious, protein-rich dishes your family will enjoy.
Key Takeaways
- Thin cut chicken breasts cook faster, in just 10-12 minutes in the oven.
- Thin slices absorb flavors more easily, allowing you to create bold, flavorful dishes.
- Perfectly cooked thin chicken breasts offer portion control benefits without sacrificing taste.
- Baking is one of the healthiest cooking methods, requiring no added fats or oils.
- Properly baking thin chicken breasts results in tender, juicy meat every time.
Table of Contents
Understanding the Benefits of Thin Cut Chicken Breasts
Thinly sliced chicken breasts, or chicken cutlets, have many advantages. They cook fast, in just 15 minutes or less. This makes them perfect for quick meals. Their thin cut also means they soak up flavors better, making your dishes taste amazing.
Quicker Cooking Time
Thin sliced chicken breasts cook in 10-12 minutes. This is much faster than regular chicken breasts, which take 20-30 minutes. This quick cooking time is great for busy nights or when you’re short on time.
Better Flavor Absorption
The thin cut of chicken lets seasonings and marinades get deeper into the meat. This makes your chicken dishes more flavorful and tender. Everyone in your family will love it.
Portion Control Benefits
Thin sliced chicken breasts are usually 4-6 ounces each. This is a good size for a protein portion. They have about 110-140 calories per serving, without sauces or marinades.
In summary, thin cut chicken breasts are a better choice than regular chicken breasts. They cook fast, taste great, and are easy to portion. They’re perfect for many healthy and tasty chicken recipes.
Essential Equipment for Perfect Results
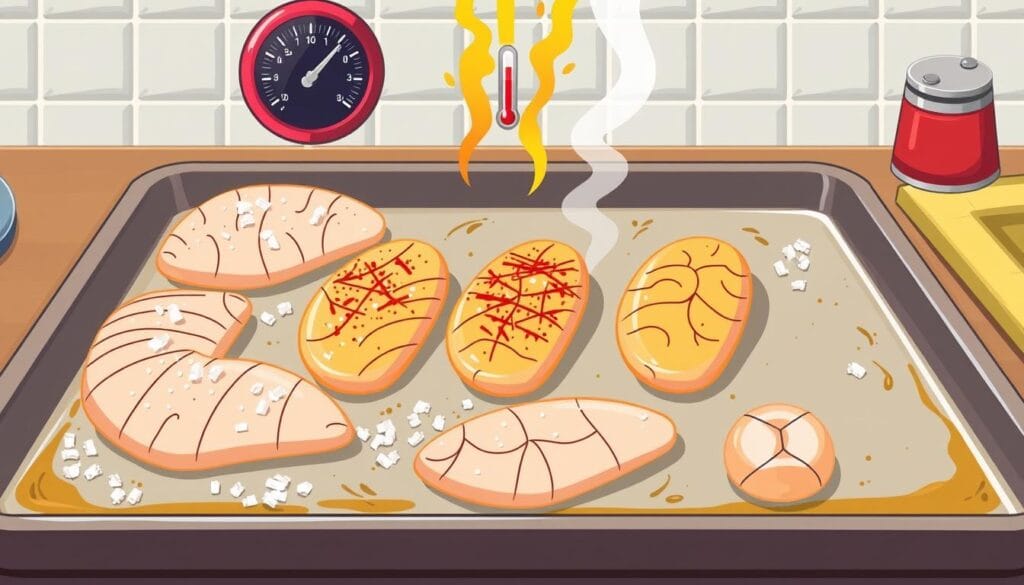
When baking thin cut chicken breasts, the right tools are key. A meat thermometer is crucial. It lets you check the chicken’s internal temperature. This ensures it hits the safe minimum of 165°F (74°C).
A baking sheet is also essential. Use it with parchment paper or a bit of cooking spray. This combo helps the chicken cook evenly and makes cleanup a breeze. Don’t forget sharp knives for cutting and tongs for handling the chicken. These tools make cooking smooth and easy.
| Kitchen Tool | Purpose |
|---|---|
| Meat Thermometer | Ensures chicken reaches safe internal temperature of 165°F (74°C) |
| Baking Sheet | Provides even cooking and easy cleanup |
| Sharp Knives | Allows for precise slicing and portioning of chicken breasts |
| Tongs | Facilitates handling and turning of chicken during baking |
With these kitchen tools for chicken recipes, you’re ready to bake thin cut chicken breasts to perfection.
The Science Behind Baking Thin Cut Chicken Breast
To bake thin cut chicken breasts well, you need to know the science behind it. This includes controlling temperature, keeping moisture in, and spreading heat evenly. These steps are key to getting juicy and tender chicken.
Temperature Control Basics
Keeping the oven at the right temperature is crucial. Use a high temperature, about 400°F (205°C), for quick cooking and nice browning. This method helps keep the chicken’s juices inside, making it moist and tender on the inside and crispy on the outside.
Moisture Retention Principles
Seasoning and oiling the chicken are important for keeping it moist. The right mix of spices and herbs, along with a light oil coating, acts as a shield. It stops the chicken from drying out while it bakes.
Heat Distribution Factors
Even heat is essential for cooking the chicken evenly. Place the chicken in a single layer on a baking sheet. This lets the heat spread out evenly, avoiding any undercooked spots.
| Statistic | Value |
|---|---|
| Chicken breasts account for 60% of the chicken sold in stores in the U.S. | 60% |
| The USDA recommends cooking chicken to an internal temperature of 165°F (74°C) to eliminate salmonella and campylobacter bacteria. | 165°F (74°C) |
| The temperature holding time for pasteurization of chicken at 140°F (60°C) is 35 minutes, at 145°F (63°C) is 13 minutes, and at 150°F (66°C) is 4.2 minutes. | 140°F (60°C) – 35 minutes, 145°F (63°C) – 13 minutes, 150°F (66°C) – 4.2 minutes |
| Pulling the chicken breast at 157°F (69°C) and maintaining a final doneness temperature of 160–161°F (71–72°C) ensures it is safe to eat. | 157°F (69°C) – 160–161°F (71–72°C) |
| Overcooking a thin piece of meat like a butterflied chicken breast can lead to tough meat fibers. | Tough meat fibers |
By mastering temperature control, moisture retention, and heat distribution, you can bake thin cut chicken breasts that are always juicy and delicious.
Preparing Your Chicken for Baking
To bake thin cut chicken breasts perfectly, start with the right preparation. Follow a few easy steps to get your chicken oven-ready.
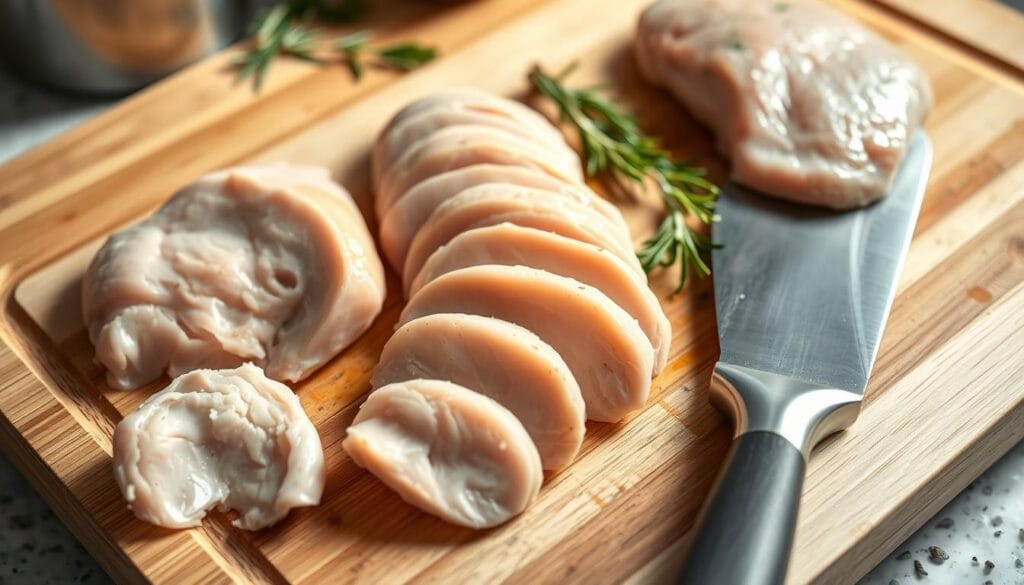
- Cutting the Chicken: Slice regular chicken breasts lengthwise to make thin cutlets. This ensures they cook evenly and quickly. You can also buy pre-sliced thin cut chicken to save time.
- Drying the Chicken: Dry the chicken with paper towels before seasoning. This helps the seasonings stick better and keeps the outside crispy while the inside stays juicy.
- Seasoning the Chicken: Season the chicken breasts with salt, black pepper, paprika, garlic powder, and other spices you like. This adds flavor all the way through cooking.
- Brushing with Oil: Brush the seasoned chicken with olive oil or melted butter. This helps it brown and stay moist while baking.
By following these steps, you’ll prepare your thin cut chicken breasts for juicy and flavorful baking. Remember to adjust cooking times based on the chicken’s thickness for the best results.
“Proper preparation is the key to mastering the art of baking thin cut chicken breasts. With a little attention to detail, you can achieve mouthwatering results every time.”
Perfect Seasoning Combinations
Boosting the taste of your thin cut chicken breasts is simple with the right seasonings. You can choose from classic herb mixes or international flavors. Each option can make your baked chicken stand out.
Classic Herb Blends
Try a mix of basil, oregano, and thyme for a tasty seasoning. These herbs complement chicken’s mild taste, offering a classic flavor. For a Mediterranean twist, mix rosemary, garlic, and lemon zest.
International Flavor Profiles
Want to try global flavors? A Mexican-inspired blend with chili powder, cumin, and smoked paprika is great. For an Italian taste, use dried oregano, garlic powder, and red pepper flakes. Or, go Cajun with paprika, cayenne, and dried thyme.
Salt and Brine Solutions
A simple brine can greatly improve your chicken’s juiciness and taste. A 15-minute soak in saltwater makes a big difference. After brining, season with your favorite chicken seasoning, herb blends, or spices.
“Brining the chicken before baking is a game-changer for juicy, flavorful results every time.”
Exploring different seasoning combinations and brining can turn plain chicken into a culinary masterpiece.
Temperature and Timing Guidelines
Getting thin-cut chicken breasts just right is all about temperature and timing. Bake them at a high heat for a short time. This keeps them juicy and tender.
Preheat your oven to 400°F (205°C). Bake the chicken for 10 to 12 minutes. This quick time helps keep the meat moist.
For a lower heat, try 375°F (190°C) for 12 to 15 minutes or 350°F (175°C) for 15 to 20 minutes. Remember, higher heat cooks faster.
It’s crucial to use a meat thermometer. Make sure the chicken’s internal temperature hits 165°F (74°C). This ensures it’s safe and fully cooked.
| Oven Temperature | Baking Time |
|---|---|
| 400°F (205°C) | 10-12 minutes |
| 375°F (190°C) | 12-15 minutes |
| 350°F (175°C) | 15-20 minutes |
These are general guidelines. Cooking time can change based on chicken thickness, oven efficiency, and more. Always check with a meat thermometer for perfect chicken.
Best Practices for Moisture Retention
When baking thin cut juicy chicken breast, it’s key to keep the meat moist. Brushing the chicken with olive oil before seasoning helps. This step seals in the flavors and keeps the meat juicy.
Letting the chicken rest for 5-10 minutes after baking is also important. This resting chicken time lets the juices spread out. It makes the meat moist and juicy.
Oil Application Techniques
To cover the chicken evenly, use a pastry brush with olive oil. This keeps the meat moist and prevents it from drying out. Apply the oil before adding spices or herbs.
Resting Period Importance
Don’t slice the chicken right after baking. Let it rest for 5-10 minutes. This resting chicken time makes the meat juicier and more flavorful.
| Baking Temperature | Baking Time | Resting Time | Internal Temperature |
|---|---|---|---|
| 400°F | 10-13 minutes | 10-20 minutes | 165°F |
By using these techniques, your thin cut juicy chicken breast will be perfect. It will be moist, tender, and full of flavor.
Common Mistakes to Avoid
Baking thin cut chicken breasts might seem simple, but there are common mistakes that can ruin your dish. These mistakes can make your chicken dry and tasteless. To avoid these errors, you’ll get juicy and flavorful chicken every time.
- Overcooking the Chicken – Thin cut chicken breasts cook fast. It’s easy to overcook them, making them dry and tough. Use a meat thermometer to check the internal temperature. Remove the chicken from the oven when it hits 165°F.
- Skipping the Brining Step – Brining, whether dry or wet, is key to keeping chicken moist. Don’t skip this step. It helps the chicken stay juicy and full of flavor.
- Cutting into the Chicken Too Soon – Don’t cut into your baked chicken right away. Let it rest for 5 minutes. This lets the juices spread evenly throughout the meat.
- Slicing Against the Grain – When you’re ready to serve, slice the chicken against the grain. This makes the chicken tender and easy to chew.
Avoiding these chicken cooking errors will help you achieve moist and tender chicken breasts every time. With a bit of care, you can prevent dry chicken and enjoy delicious, juicy results.
| Mistake | Impact | Solution |
|---|---|---|
| Overcooking | Dry, rubbery texture | Use a meat thermometer and remove from oven at 165°F |
| Skipping Brining | Loss of moisture and flavor | Brine the chicken, either dry or wet, before cooking |
| Cutting Too Soon | Loss of juices | Allow chicken to rest for 5 minutes before slicing |
| Slicing Against Grain | Tough, chewy texture | Slice chicken breasts against the grain for a tender bite |
Remember these common chicken cooking errors to master baking thin cut chicken breasts. Enjoy tender, delicious chicken every time with these tips.
Storage and Meal Prep Tips
Preparing delicious thin cut chicken breasts is just the start. To keep your hard work fresh, it’s key to store and reheat your chicken right. Follow a few easy steps to enjoy your juicy chicken for days.
Proper Cooling Methods
Let your baked chicken cool down completely before storing. This keeps it moist and stops bacteria from growing. Let it rest at room temperature for 5-10 minutes, then chill it in the fridge. Store it in airtight containers or bags for up to 5 days.
Freezing Guidelines
For longer storage, freeze your chicken for up to 3 months in a regular freezer or 1 year in a deep freezer. Cool the chicken first, then freeze it in a single layer on a baking sheet. Once frozen, move it to airtight containers or bags. This keeps the chicken from sticking together, making it easy to thaw and reheat.
Reheating Techniques
When reheating your chicken, do it gently to keep it moist. The microwave is quick, but be careful not to overheat. Use 15-second bursts, flipping the chicken, until it’s hot. Or, reheat it in a skillet or oven at a low heat, watching it closely to keep it juicy.
By using these easy storage and meal prep tips, you can enjoy your baked chicken all week. A bit of planning makes meal prep easy, keeping you healthy and happy.
Versatile Serving Suggestions
Baking thin cut chicken breasts is a game-changer. They are juicy, flavorful, and super versatile. You can use them in many dishes, making them a must-have in your kitchen.
Begin by cutting the chicken into thin strips or small pieces. These are perfect for adding protein to salads. They also make great fillings for wraps and sandwiches.
- Slice chicken for salads, wraps, and sandwiches
- Pair with roasted vegetables and whole grains for a balanced meal
- Incorporate into pasta dishes or use as a topping for risotto
For a hearty meal, serve the chicken with roasted veggies and whole grains. Quinoa or brown rice pair well. The chicken’s flavors enhance the earthy taste of these sides, making a complete meal.
Feel free to experiment with your chicken! Shredded or diced chicken is great in pasta and on risotto. It adds texture and protein, making dinner both elegant and filling.
| Serving Suggestion | Benefits |
|---|---|
| Salads | Adds protein and texture |
| Wraps and Sandwiches | Provides a satisfying filling |
| Paired with Vegetables and Grains | Creates a balanced, nutritious meal |
| Pasta Dishes and Risotto | Enhances the dish with protein and flavor |
Baked thin cut chicken breasts are incredibly versatile. They’re perfect for quick meals or elaborate dishes. This lean protein is the base for many chicken recipes, serving ideas for chicken, and chicken meal ideas.
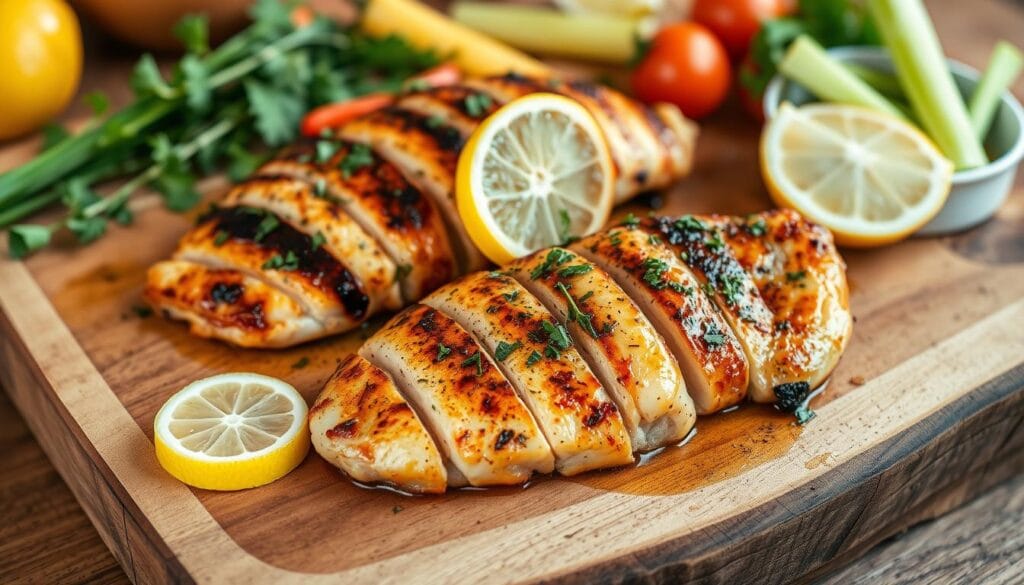
Conclusion
Learning to bake thin cut chicken breasts is key to juicy, tasty meals. Follow these tips for prep, seasoning, cooking, and storage. This way, you can make healthy, tasty meals that are easy to make.
Try different flavors and ways to serve your perfect chicken breast. This keeps your meals exciting and satisfying.
For moist, tender chicken, focus on temperature, moisture, and detail. Use the right seasonings and try an air fryer for a healthier option. Let the chicken rest after cooking to make it even better.
With these tips, you’ll make easy chicken dinner options that wow everyone. Thin cut chicken breasts are versatile. Use them to create amazing dishes.
FAQ
What are the benefits of using thin cut chicken breasts?
Thin cut chicken breasts, or chicken cutlets, are great for quick meals. They cook in 15 minutes or less. This makes them perfect for busy days.
Their thin cuts let flavors penetrate better. They also offer a normal protein portion size. These reasons make them a better choice than regular chicken breasts.
What essential equipment is needed for baking thin cut chicken breasts?
You’ll need a meat thermometer for the right cooking temperature (165°F/74°C). A baking sheet lined with parchment paper or sprayed with cooking spray helps with even cooking and easy cleanup. Sharp knives and tongs are also necessary for handling the chicken.
How do temperature, moisture, and heat distribution affect baking thin cut chicken breasts?
Baking thin cut chicken breasts requires understanding temperature, moisture, and heat distribution. Higher oven temperatures (400°F/205°C) cook faster and brown better. Seasoning and oil help keep moisture in.
Even heat ensures the chicken cooks evenly. This is key for perfect results.
How should I prepare thin cut chicken breasts before baking?
Start by slicing regular chicken breasts lengthwise or buying pre-sliced cutlets. Pat the chicken dry and season with salt, pepper, paprika, garlic powder, and other spices. Brush with olive oil to enhance browning and moisture.
What are some flavorful seasoning combinations for thin cut chicken breasts?
You can spice up thin cut chicken breasts with many seasonings. Try classic herb blends like basil, oregano, and thyme. For international flavors, use Mexican, Italian, or Cajun spice blends.
A 15-minute brine in saltwater before seasoning can also boost flavor and moisture.
How long should I bake thin cut chicken breasts, and at what temperature?
Bake at 400°F/205°C for 10-12 minutes. Adjust times based on oven temperature: 15-20 minutes at 350°F/175°C, 12-15 minutes at 375°F/190°C, or 8-10 minutes at 425°F/218°C. Always check with a meat thermometer to ensure the chicken reaches 165°F/74°C.
What techniques can I use to retain moisture in thin cut chicken breasts?
To keep moisture in, brush the chicken with olive oil before seasoning. This helps lock in juices. After baking, let the chicken rest for 5-10 minutes before slicing.
This resting period allows juices to spread evenly, making the chicken juicier.
What common mistakes should I avoid when baking thin cut chicken breasts?
Avoid overcooking, which dries out the chicken. Don’t skip the brining step for moisture. And don’t cut into the chicken right after cooking, as it loses juices.
Always slice against the grain for a tender texture.
How can I store and reheat baked thin cut chicken breasts?
Cool baked chicken completely before storing. Refrigerate for up to 5 days in airtight containers. Freeze for up to 3 months in regular freezers or up to 1 year in deep freezers.
When reheating, use 15-second microwave bursts to prevent overcooking and keep moisture.
In what ways can I serve baked thin cut chicken breasts?
You can serve baked chicken in many ways. Slice it for salads, sandwiches, or wraps. Pair it with roasted vegetables and grains for a balanced meal.
Use it in pasta dishes or as a protein addition to risotto. Its versatility makes it great for different meals and diets.
Tell Us Your Thoughts
There are no reviews yet. Be the first one to write one.

